Introduction
Today, we see loaders everywhere. Even before reading this article you saw a viewer just to load the page. By this article I want to share you the history behind loaders on websites and then show you how easily it is to make your own loader to your website!
Let's learn about loaders
What is a loader ?
A loader is just an information that the software's developpers giving you to let you know that ressources are loading. Without it, you could surely think that your computer is freezing and being frustrated. It's often a little animation or just a pourcentage to let you know when your computer will finish loading and processing the datas.
When do loaders started to be used ?
Loader, and more precisely loading screen started to be used in first videogames for loading textures. After, it was used for the first operating system to load all assets/scripts to make them work. Here is the loading screen of Ubuntu:

Now that you know all about loaders, let's build one!
Building your own loader
Ingredients
So to have the use of a loader, we need some data to be loaded.
Let's imagine we have a javascript function waitUntilLoaded that need to be called before we can go to the website.
function waitUntilLoaded() {
    return new Promise(r => setTimeout(r, 5_000))
}
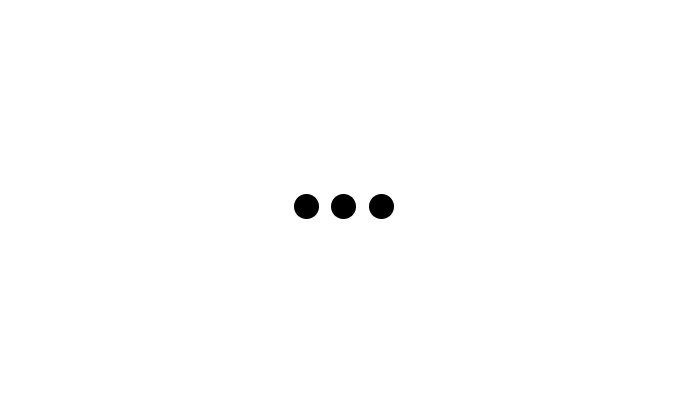
Now we need to create our loader animation. For this exemple it'll be 3 dots bouncing one after each other like so:
To do that, we need to have the loader container and inside the 3 dots
<!-- The loader container -->
<div id="loader">
    <!-- The three dots -->
    <div class="dot"></div>
    <div class="dot"></div>
    <div class="dot"></div>
</div>
Let's give to them a bit of style
#loader {
    display: flex;
    align-items: center;
    justify-content: center;

    /* Here I just writing props to make the loader taking all the screen */
    position: fixed;
    top: 0;
    left: 0;
    width: 100%;
    height: 100%;
    z-index: 10;
}
.dot {
    width: 20px;
    height: 20px;
    border-radius: 50%;
    margin: 0 5px;
    background-color: black;
}
With that, we have the following result:
Now we need a little "twist" to make sure the user will not think that its device isn't freezing. And for that, we need to add an animation to our loader. To make that, I'll use the css keyframes for simplicity. But you can use javascript to make more complex animation (indeed I used GSAP for my website's loader).
@keyframes jumpingDot {
    /* At the start/end of animation, the dot is at its default place */
    0%, 85% {
        translate: 0 0;
    }
    /* In the middle of the animation, the dot will be a little offseted */
    50% {
        translate: 0 -20px;
    }
}
Now that we have the animation, we'll apply it to our dot.
.dot {
    /* ... the others properties ... */

    /* Apply the animation infinitly and make it "smoother" with easing in and out */
    animation: jumpingDot 2s infinite ease-in-out;
}
/* Now we need to offset the animation a little more for each dots */
.dot:nth-of-type(2) {
    animation-delay: .5s;
}
.dot:nth-of-type(3) {
    animation-delay: 1s;
}
And now we have this result:
From an animation to a loader
Now that we have our loader, all we need need to do is to remove it when the data has been loaded. Thanks to javascript promises, we can know when the promise ends:
waitUntilLoaded()
.then(function() {
    // Here all the data are loaded
})
So, all we need to do is to remove from the html the loader element. And to do that we need before to acquire it, and if it exists, we just need to call from this element the remove method. This method will delete the loader from the document:
waitUntilLoaded()
.then(function() {
    // Here we're acquiering the element by its id
    const loader = document.getElementById("loader")
    if(loader) {
        loader.remove()
    }
})
And voila! We have a very cool loader that disapears when all the data are loaded!
Final file
For simplicity, here is the html file of this loader:
<!-- The loader container -->
<div id="loader">
    <!-- The three dots -->
    <div class="dot"></div>
    <div class="dot"></div>
    <div class="dot"></div>
</div>

<script>
    // This is an exemple function
    function waitUntilLoaded() {
        return new Promise(r => setTimeout(r, 5_000))
    }

    waitUntilLoaded()
    .then(function() {
        // Here we're acquiering the element by its id
        const loader = document.getElementById("loader")
        if(loader) {
            loader.remove()
        }
    })
</script>

<style>
    @keyframes jumpingDot {
        /* At the start/end of animation, the dot is at its default place */
        0%, 85% {
            translate: 0 0;
        }
        /* In the middle of the animation, the dot will be a little offseted */
        50% {
            translate: 0 -20px;
        }
    }

    #loader {
        display: flex;
        align-items: center;
        justify-content: center;

        /* Here I just writing props to make the loader taking all the screen */
        position: fixed;
        top: 0;
        left: 0;
        width: 100%;
        height: 100%;
        z-index: 10;
    }
    .dot {
        width: 20px;
        height: 20px;
        border-radius: 50%;
        margin: 0 5px;
        background-color: black;

        /* Apply the animation infinitly and make it "smoother" with easing in and out */
        animation: jumpingDot 2s infinite ease-in-out;
    }
    /* Now we need to offset the animation a little more for each dots */
    .dot:nth-of-type(2) {
        animation-delay: .5s;
    }
    .dot:nth-of-type(3) {
        animation-delay: 1s;
    }
</style>